

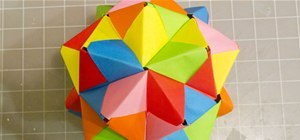
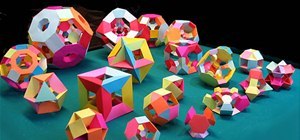
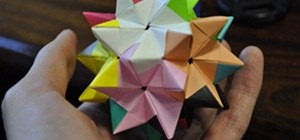
Math Craft admin Cory Poole posted instructions on How to Make a Cube, Octahedron & Icosahedron from Sonobe Units, plus some great complex models in his article, How to Make a Truncated Icosahedron, Pentakis Dodecahedron & More. These models use the standard sonobe unit and a coloured variant.
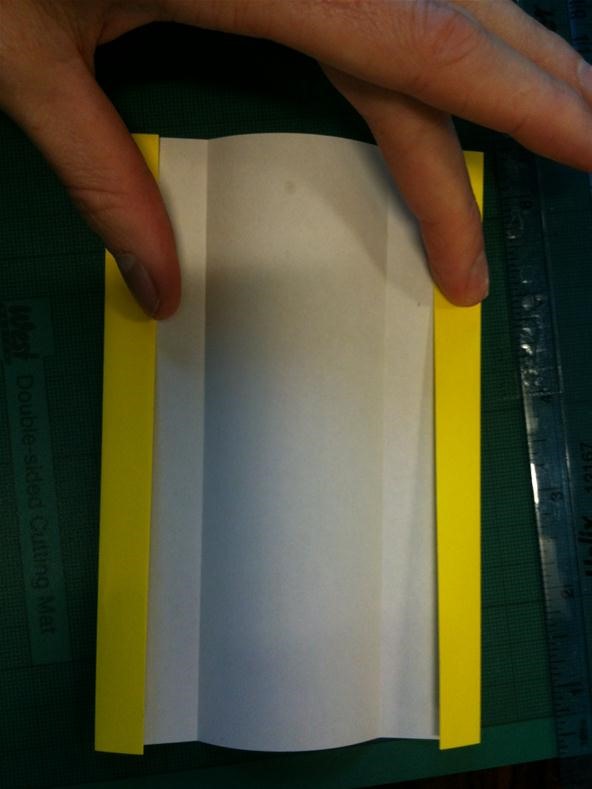
This dodecahedron uses another form of the basic unit. First off, for purely aesthetic reasons it is striped—but more importantly, the last folds must be made at a strange angle to allow you to make a dodecahedron's pentagonal face. First off, let's make the individual unit.
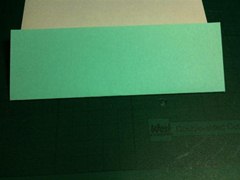
Step 1 Create the Basic Stripe
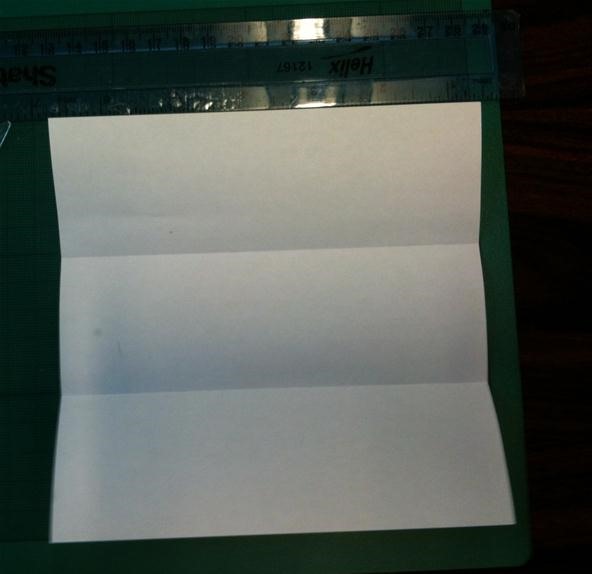
Valley fold a sheet of coloured paper (coloured face down) into three equal sections:
Tips
- Folding into three is not natural and there are many clever ways to get it accurate. On the other hand, you can just cheat...which is what I do.
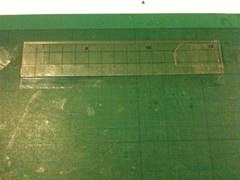
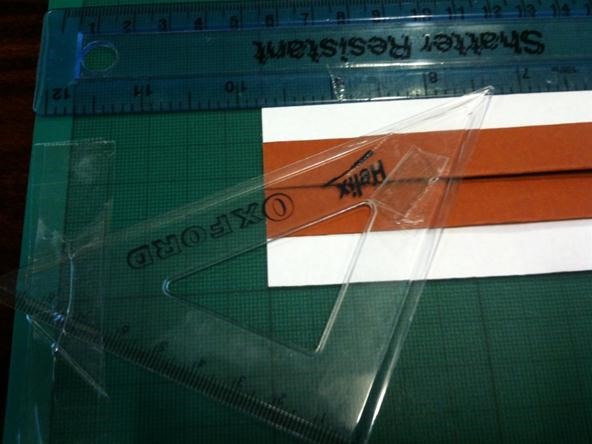
How to Cheat, Part 1: Tape a ruler to a cutting board or piece of cardboard, being careful to make sure that the tape follows the angle/step of the ruler onto the board. Determine on the board where 1/3 of your paper size is. On this cutting board and paper size (150X150mm), it is the first heavy line (50mm). In other circumstances, make a pen mark after careful measurement on the board each side of where the paper will be. Before I had a marked up cutting board, I often used to tape a ruler to a piece of graph paper.
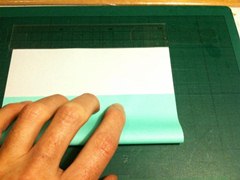
How to Cheat, Part 2: Jam your paper up against the ruler and take the edge closest to you up to the 1/3 line you marked in first part. I would normally have all eight fingers holding the edge down, and when I was satisfied that both sides of the coloured edge are lined up with the 1/3 line, I would press my hands down and make a gentle crease. Then, after checking that the coloured edge is still lined up on both sides (and holding the paper firm with other hand), I would use the pad of my forefinger to make that crease sharp.
How to Cheat, Part 3: Spin the paper by 180 degree (coloured side still downwards) so that the crease you made above is now jammed against the ruler. Open the fold of paper slightly and slot the other edge until it meets the crease.
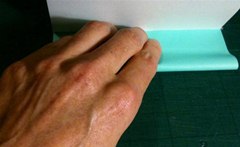
When the edge is snuggled up against the inside of the crease—and you have checked both sides are straight—gently make the crease. Double check that the fold is correct, and then sharpen the crease.
You should now have a piece of paper that is folded into thirds to the best of your ability. Once you have done this a few times, your fold will be very quick and pretty accurate. The only more accurate way I know is measuring individually and scoring, but that is very time consuming.
End of cheat ;-)
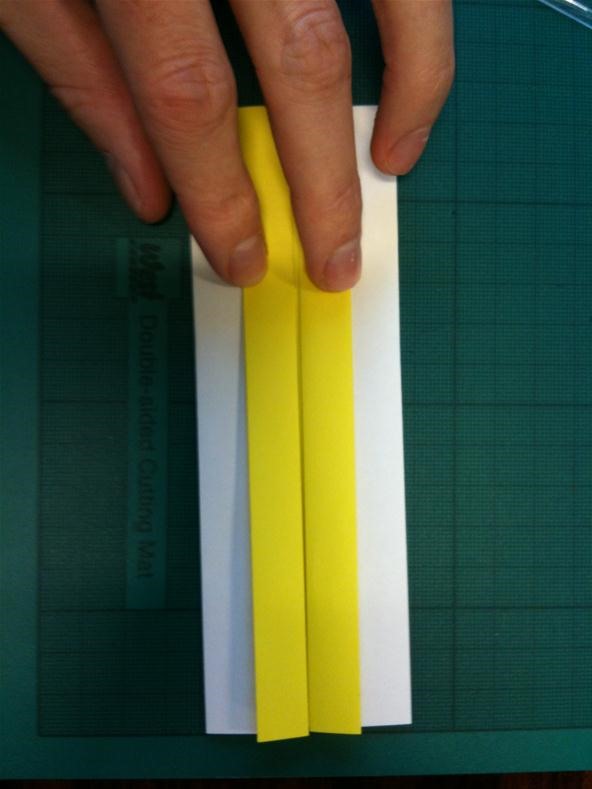
Next, fold the edge to the crease you have just made and then unfold. Repeat at other end.
Again, fold each edge to the fold you made in stage 2. Do not unfold this time. Repeat for the other end.
Fold this section over again. Repeat for the other end.
Flip the paper over and valley fold at the same crease as you made earlier. Repeat for the other side.
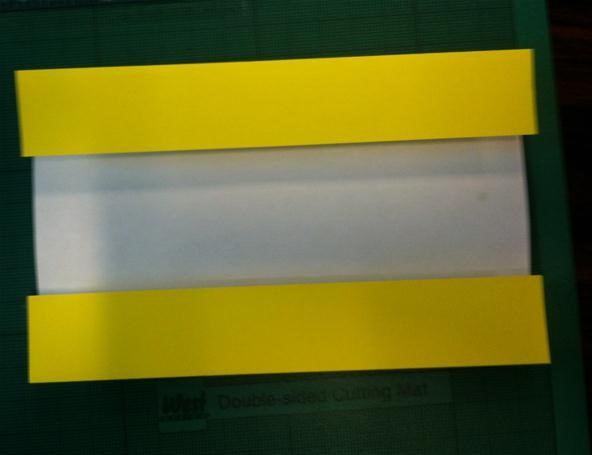
Step 2 Create the Special Angle for a Pentagonal Face of a Dodecahedron
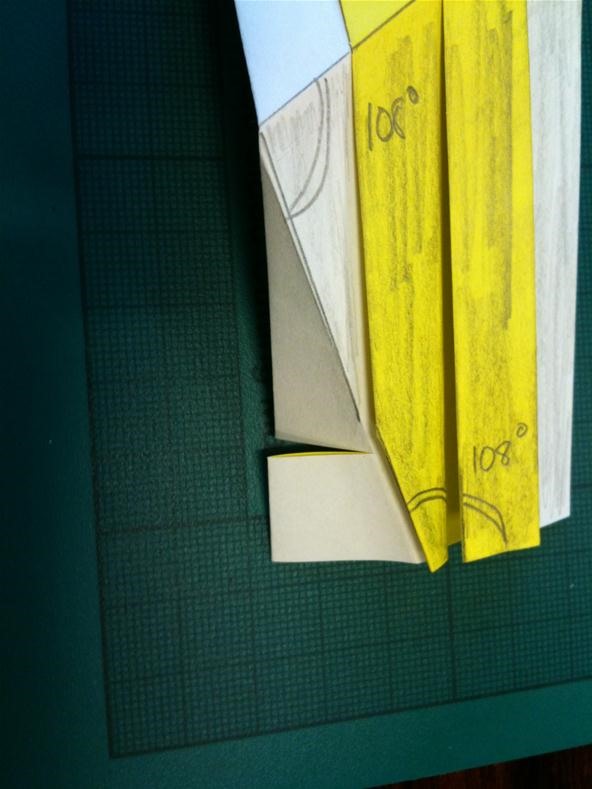
Now we need the special angle. I have drawn the fold lines on:
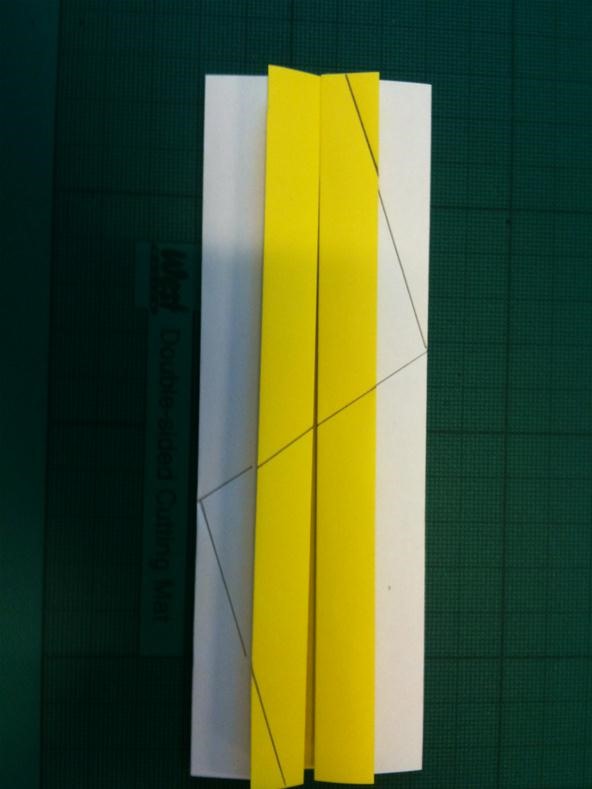
You will note that the shaded area is a perfect half-pentagon:
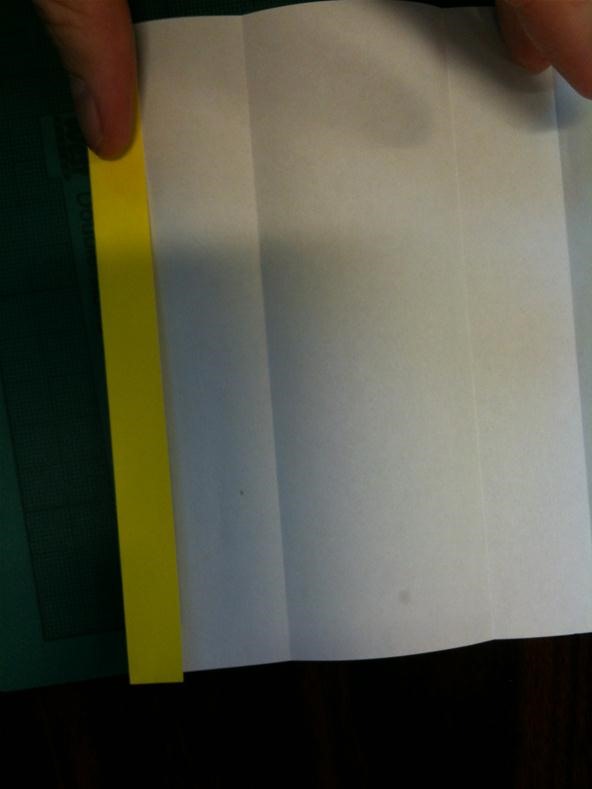
Now, I am sure there is a beautiful way to create these angles using just origami, but I am not a great fan of over complicating things, and decided to cheat and just measure. To get a half pentagon as shown below, I folded 19mm along the sort edge and 58mm (for a 150mm x 50mm unit). To speed up and regularize the process, I sellotaped a ruler and set square to a cutting mat at the correct spacing.
Do this at opposite corners.
Warnings
- These figures will only work for a 150mm X 50mm sonobe unit.
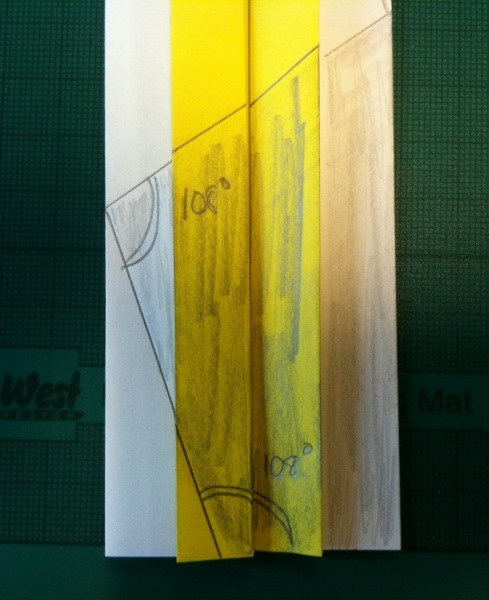
To work out the figures for the correctly sized sonobe unit, a little trigonometry is (unfortunately) called for:

First off, you need to find the side length of the pentagon (which I have called x). You can find x by dividing the width of the sonobe by Sin(54). From the diagram above, it is clear that the distance from the corner on the short side (marked as A) is the width, less half the pentagon side length.
Even without a calculator this is easy: go to Google and enter: 50 - (50/sin 54 degrees)/2 and it will return the answer for a sonobe width of 50. So, all you need to do is replace both the 50's with your width. By the way—you need the degrees to stop google using radians.
To find B, the distance from the corner on the long side, we recognize that B is the pentagon side length multiplied by Sin 72. Again, enter into Google: (50/sin 54 degrees) * sin 72 degrees. You must not skip the brackets, and you should replace the 50 with the width of your sonobe.
Warnings
NOTE: Sonobe have "handedness"—you must do the same corners every time, i.e. always do top right & bottom left or vice versa. DO NOT MIX!
Once you have the first two folds at each corner, join the ends of each fold on the long edges with a fold across the middle:

Step 3 Getting the Thing to Hang Together
There is no way that this model would have structural integrity (there is no gripping or locking), so we either use glue (boo, not traditional at all) or use the other (still un-orthadox) method of cutting. To preserve the shape, we cut a little flap as follows:
Warnings
- I have just noticed that my folding is a little awry in the photo above. As this is not a natural shape for sonobe, you have to try to be really accurate and get your folds spot on.
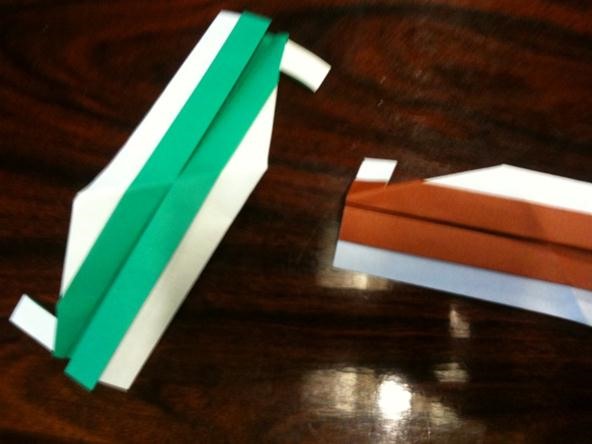
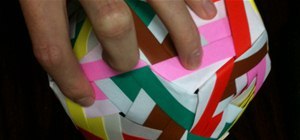
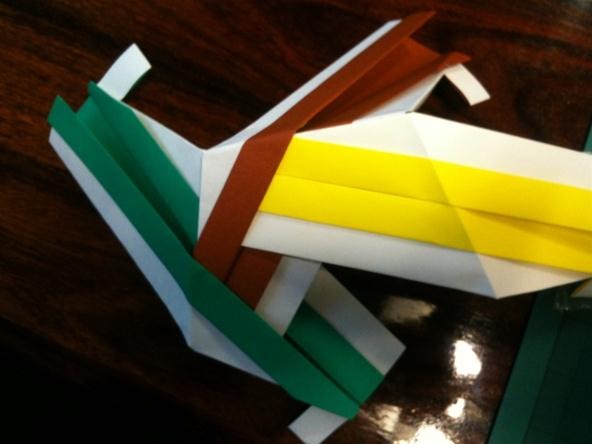
In the end, you need thirty base units like the one above. It is recommended that you use 6 of each colour as this will make the nicest patterns.
Step 4 Putting it Together
This is not as difficult as it looks. There are two stages to get your head around. The first is connecting one to another.
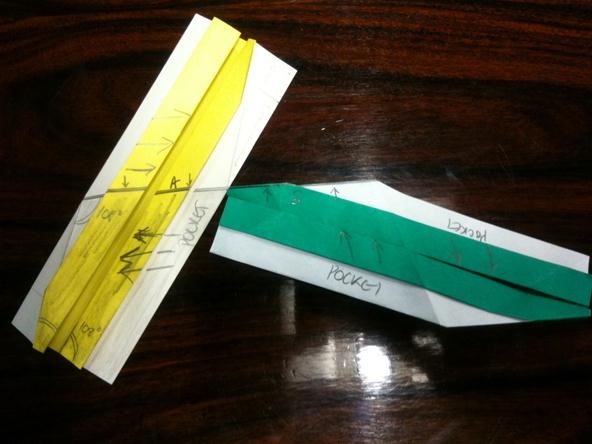
On these vandalised sonobe, I have marked where the pockets are (two on each unit facing in opposite directions). To make the basic join, you slide the green sonobe into the pocket of the yellow until line B is aligned with line A. If you squeeze the green unit in, then fold over the yellow one—the fold clamps the little tag of the green one (helpfully folded out of view on this one).
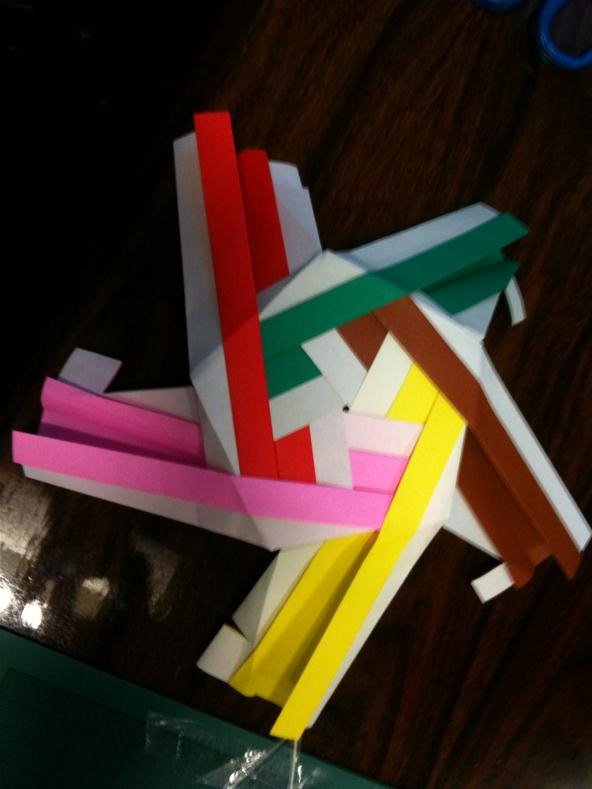
You then put a third one into the pocket of the one you just slid in.
(Sorry for change of colours, by the way.)
So the brown goes into the green, and then the yellow into the brown.
Then a pink goes into a yellow, and then a red in turn goes into the pink, and then the bit that holds it together at the end of the green that you began with goes into the red, completing the cycle and making your first pentagon:
So each unit both slots into another one AND has a different unit slotted into it. And each unit has half its length protruding from the side to start a new pentagon. From here on, it is really just rinse and repeat as far as putting the bits together.
I am missing my pictures from the rest of the build (and I am loathe to take it apart), but from here on is not that difficult. I will get some more pictures at a later date, but the principle is pretty straightforward.
Based on the above pentagon you have 5 loose ends/half unit. Each is the start of a new pentagon. Each of the new pentagons will contribute one half unit to each of its neighbours (and will receive one half unit from each of its neighbours).
The only thing to be concerned about is getting the colours straight.
The pink unit I have all four of my fingers on is one unit! (Note it bridges two pentagons.)
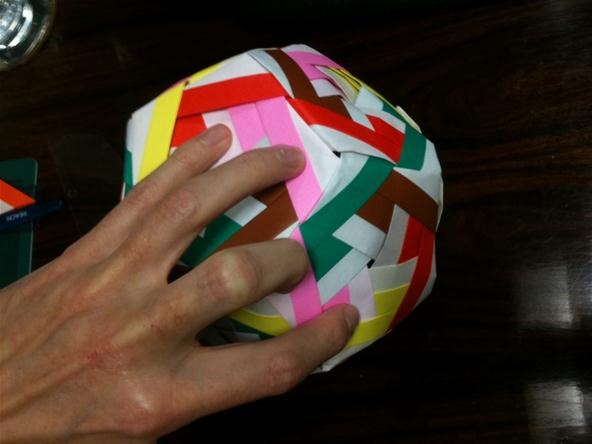
In this picture though, there are three separate pink units:
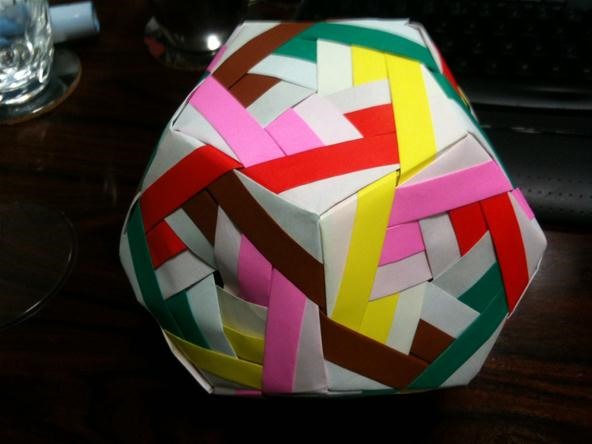
If you stick to the plan of when a unit terminates at a corner—as the pink one does on the top face—each of the contiguous faces should start a pink unit at the same corner (and apply the same rule to the other four colours). You will end up with a complete model with no repeats or faces with two colours the same!
This is the first instructional article I have done, so if think there are not enough details—or too many—comment below, please.
And I do hope someone is mad enough to try it themselves and post the results to the community corkboard.
Just updated your iPhone? You'll find new emoji, enhanced security, podcast transcripts, Apple Cash virtual numbers, and other useful features. There are even new additions hidden within Safari. Find out what's new and changed on your iPhone with the iOS 17.4 update.


8 Comments
What a beautiful model! Thanks so much for figuring this one out. I'll have to post up pics of my version based off of these instructions soon.
whats so cool about this thing and what is it any way
their are not enough details i think
Great how-to. Really thorough.. and intimidating. trigonometry!? I will most definitely try it, but not right away. I have a couple easier ones I want to master first. The end result is beautiful. Thanks so much sharing.
Imatfaal has taken care of the trigonometry for you as long as you stick to 150 cm paper and the striped sonobe module with a width to length ratio of 1 to 3. The trigonometry is what you would have to do if you changed these figures.
I will admit.. I'm a definite purist. I don't like the idea of cutting or gluing. I love how the modules in the other models fit together/hold together like a puzzle.
These ones actually will fit together and hold without glue or the slits...they are just really fragile since all you have are frictional locks. I built one without the slits and then glued it for stability. But it was hard keeping it together without the slits or glue on the in-between steps. You could use masking tape (or some other lightly sticky tape) to hold the in-between steps and then when you get everything together right, it might hold well. Maybe. :)
I posted up my version here Awesome instructions. Still a bit challenging, but definitely doable. Just take time and be careful on your folds!
Share Your Thoughts