

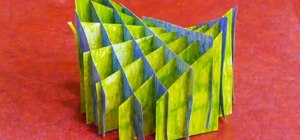
It's Monday, which means once again, it's time to highlight some of the most recent community submissions posted to the Math Craft corkboard. I also thought we'd take a look at building a sliceform model of a hyperbolic paraboloid.
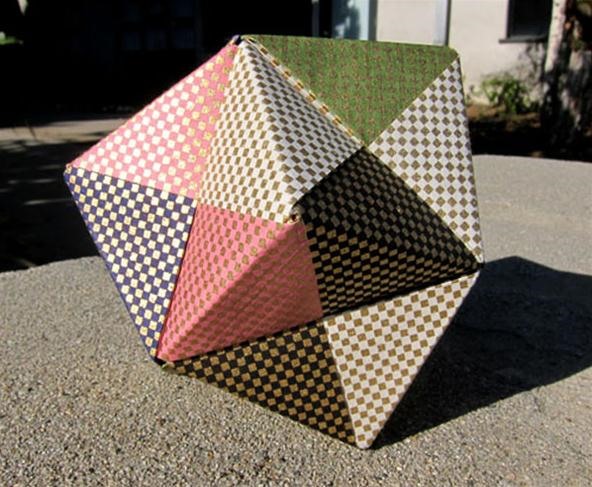
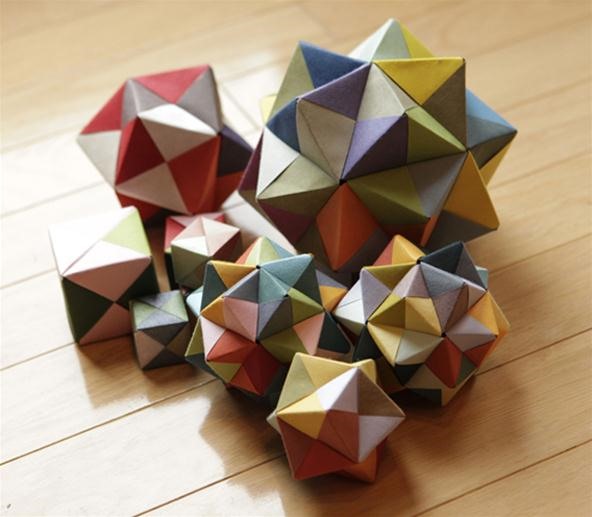
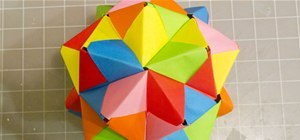
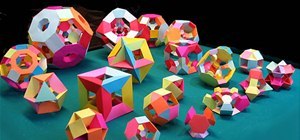
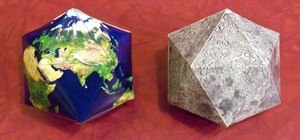
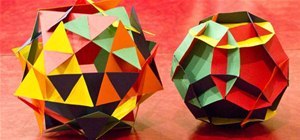
Rachel Mansur put up two posts on her Modular Origami. In the first post, she included pictures of an octahedron built using patterned origami paper. In the second post, she included many pictures of cubes, octahedrons, and icosahedrons of many different sizes built out of colored origami paper. Please go to the posts to see more pictures. Instructions to build these models can be seen here.
Here's her octahedron model:
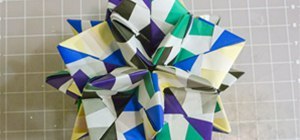
And her cubes, octahedrons, and icosahedrons:
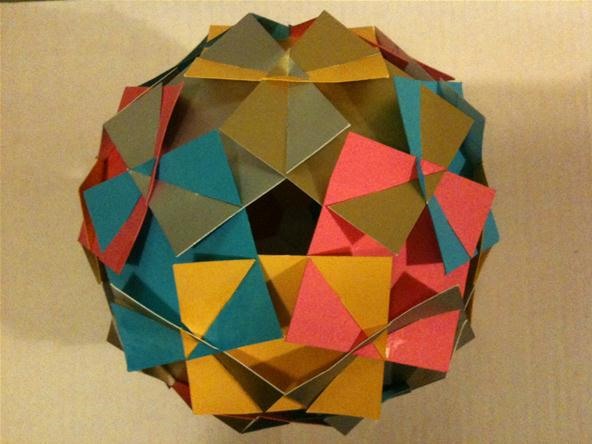
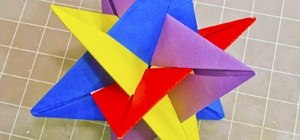
Imatfaal Avidya posted up pictures of his 30-square slide together based off of this Math Craft post. I love how he realized it's based off of a model of a compound of five cubes. This compound is definitely worthy of a post in the future.
His thirty-square slide together:
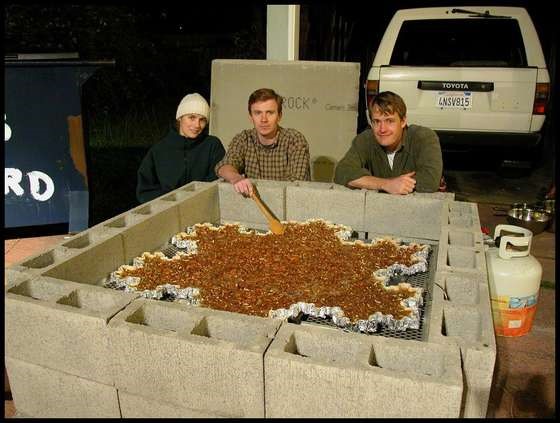
Toastykitten of the Google+ Insider's Guide posted up an amazing picture of a giant pumpkin pie in the shape of a Koch Snowflake. This is one of the fractals that we used as a cupcake topping in last Thursday's post. In the pumpkin pie version, the crust itself forms the fractal, which is interesting because in the actual fractal (infinite iterations), the length of the crust would be infinite, but the area of the pie would be finite. For more information and a link to a how-to article, click on her corkboard post.
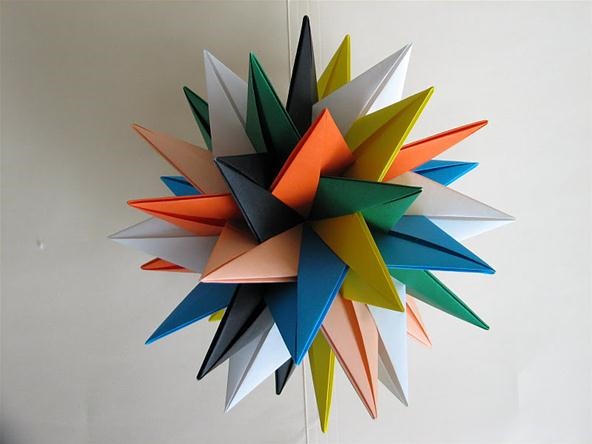
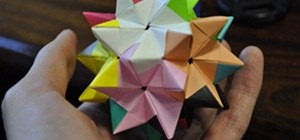
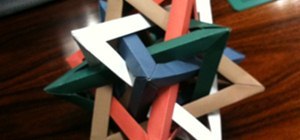
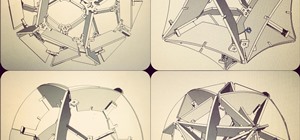
Rachel also posted up an interesting video tutorial and origami diagram for making an object which is the intersection of seven different 7-sided stars. These were designed by Meenakshi Mukerji who we looked at in last Friday's inspirational post. We'll probably take a detailed look at building this object (or an object like it) in the next couple of weeks. But in the meantime, there are enough details in Rachel's post to figure it out. I'd love to see someone build it before me.
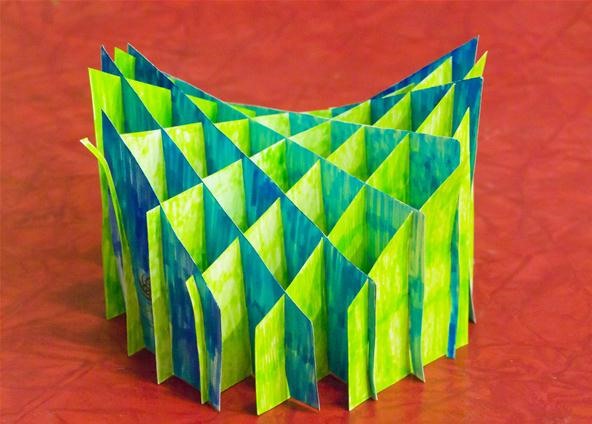
In Rachel's final post, she put up a link to the Museum of Mathematics (MOMATH) that is going to open up in Manhattan next year. They have a bunch of interesting activities that you can work on at home at this link. Several of these links look really fun. I thought that we should build their model of the hyperbolic paraboloid for the rest of this post. You can see a video of the one I made yesterday below. This is a very cool model because it folds flat and expands very easily.
Materials and Tools
- Cardstock (4 sheets)
- Template
- X-Acto knife (scissors might be possible, but very difficult)
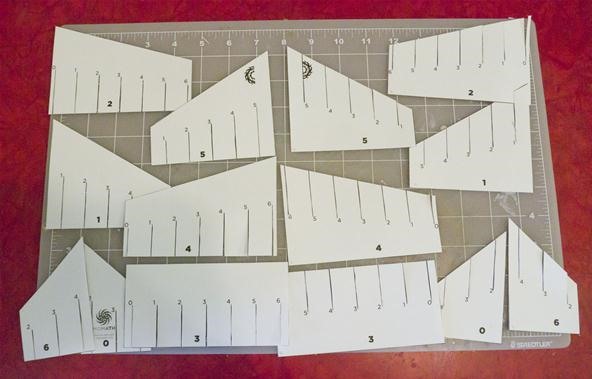
Step 1 Download the Template and Print It Out
Download the template. Print it out onto 4 sheets of cardstock. If you have two different colors of cardstock, print out the first two pages on one color and the second two pages on a different color.
Step 2 Cut Out the Template
Cut the slits out first. You need to cut each slit twice, once on the left side and once on the right. You must cut on both sides, otherwise there will not be enough space to slide the two pieces together. After you cut both sides of the slits, cut out all of the pieces. You can now remove the slits by pulling on them. Note that there are two pieces of each number. On one of them the slits are on the bottom, and on the other the slits are on the top.
Step 3 Assemble
The pieces have been numbered to make assembly easy. Put the two pieces marked 1 together by lining up their 1 slots and sliding them into each other.
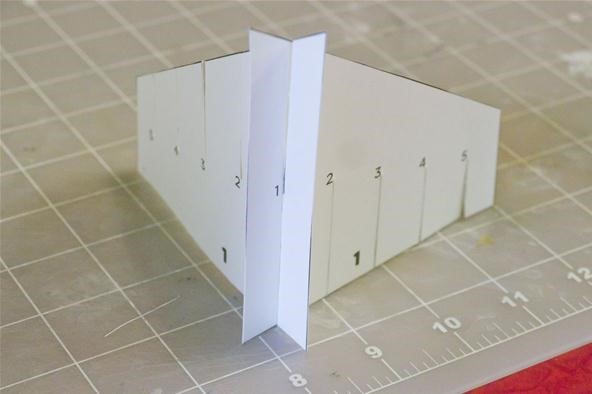
Now take one of the pieces marked 2 and slide it into the 2 slot of the 1 piece. Then take the other 2 piece and slide it into both the 2 slot of the other 1 piece and the 2 slot of the other 2 piece. You should now be able to add both of the 0 pieces by sliding them into the 0 slots on the 2 pieces.
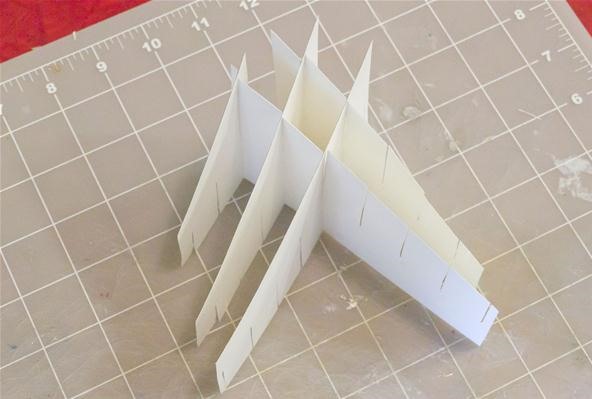
Continue by adding the 3 pieces.
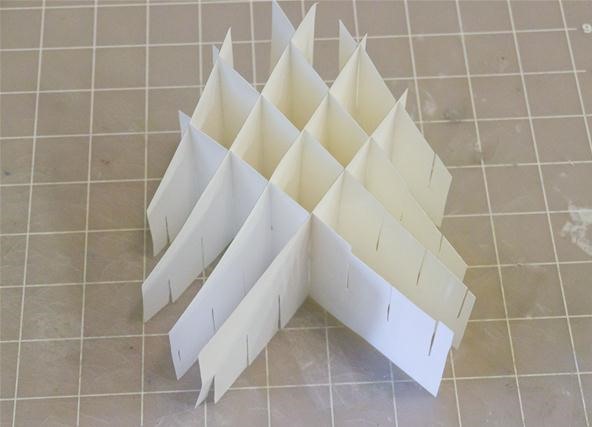
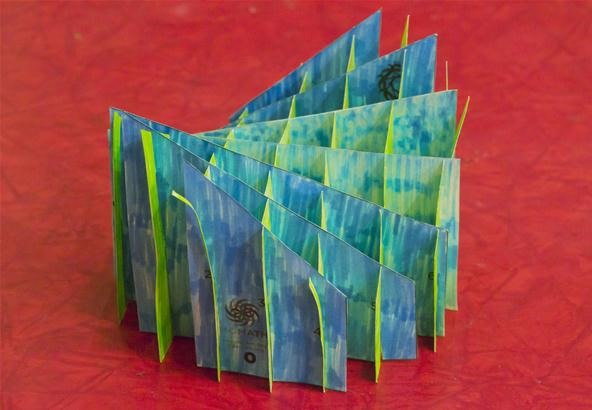
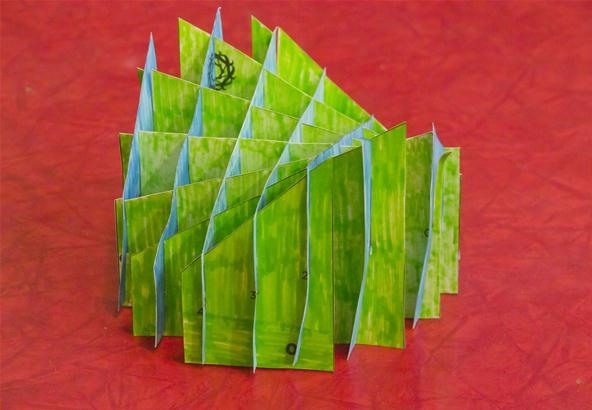
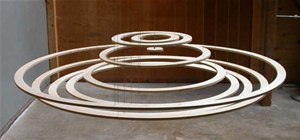
Here's what it should look like when you're finished.

From this angle you can really see the parabolic curvature of the piece.
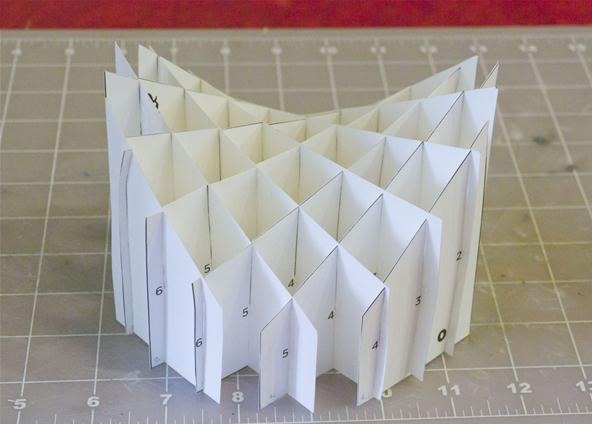
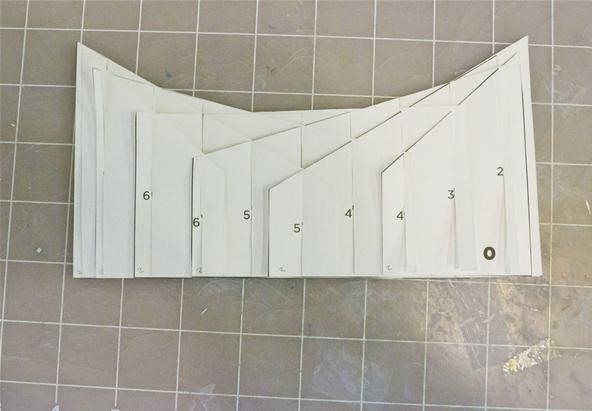
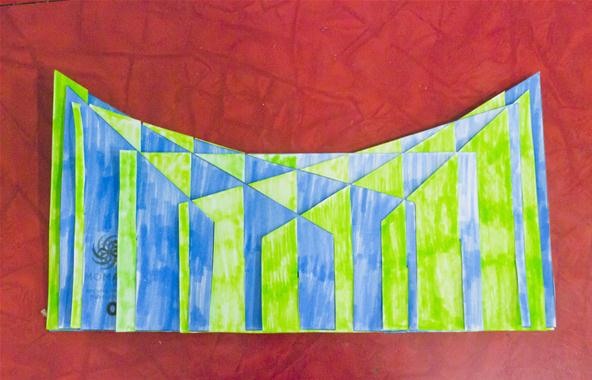
It folds completely flat in two different directions.
If you color the pieces, it looks good to color the pieces differently depending on the direction they go. Color the pieces that have bottom slots (first two pages) differently than the ones that have top slots (last two pages). I didn't have two colors of card stock, so I just used two felt tip markers.
Step 4 Show Off Your Work
If you make the hyperbolic paraboloid sliceform or any of the other previous Math Craft projects, please share with us by posting to the corkboard. Perhaps you have some original project or something you've seen on the web that you'd like to share.
If you like these types of projects, let me know in the comments. If you have any other ideas you would like to pursue, let me know in the forum.
Just updated your iPhone? You'll find new emoji, enhanced security, podcast transcripts, Apple Cash virtual numbers, and other useful features. There are even new additions hidden within Safari. Find out what's new and changed on your iPhone with the iOS 17.4 update.


7 Comments
nice! That model is awesome. on my very long math craft to-do list.
This one is pretty quick...if you don't color it by hand. I really recommend using 2 different colors of cardstock to print it on. If you do this...It probably should only take 20 to 60 minutes depending on your speed with cutting. I really had a lot of fun with it today in my classes. We were actually covering parallelograms in Geometry, so this was a good example of how you can keep the sides parallel while letting the angles change (during the collapse.)
Everyone should watch the video. The pictures aren't enough to do this object justice. This object would work very well for simple magic tricks. I've made a sphere like this before that I could hide in my hand and make appear and disappear near instantly by just moving the hand it's in.
I did, there are some decorations that use this to prop it up and can still be foldable.
Yep. You can make an approximation of just about any object using this sliceform method. And you can use just about any material as well. There's no reason you can't make an object that was sphere like and 4 foot in diameter out of plywood for instance. It wouldn't fold as flat as paper but still would be relatively thin when collapsed.
This is so awesome!
The first (but certainly not the last) thing I have made from math craft, really cool.
P.S. I posted about it on my blog: http://fwd4.me/12AY
Share Your Thoughts