
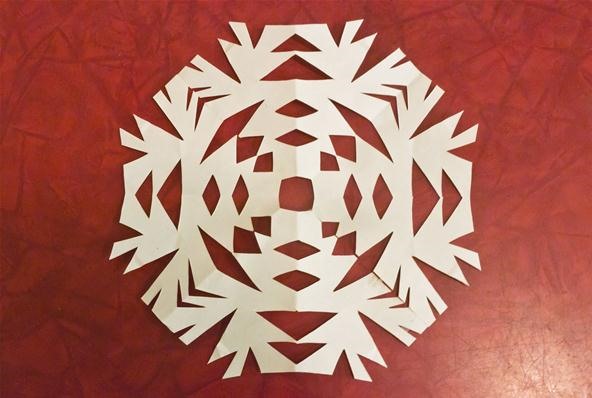
We've all made them. I remember making hundreds of paper snowflakes when I was in elementary school. You take a piece of paper and fold it in half, then fold it in half again. You now have a piece that is one fourth the size of the original. Now you fold it in half diagonally. You then cut slices out of the edges of the paper, and unfold to find that you have created a snowflake. The resulting snowflake has four lines of symmetry and looks something like this:
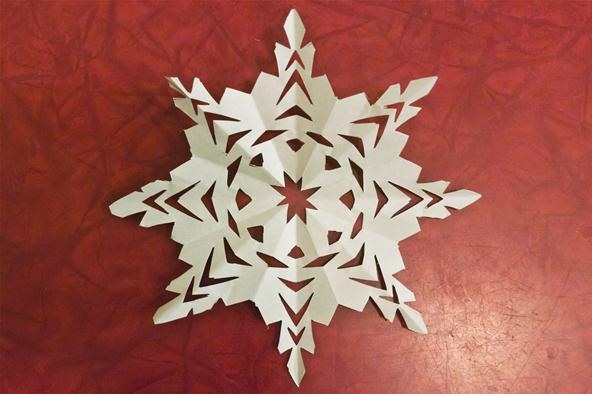
If you fold it in half diagonally again before cutting, you can create eight lines of symmetry and have a snowflake that looks something like this:
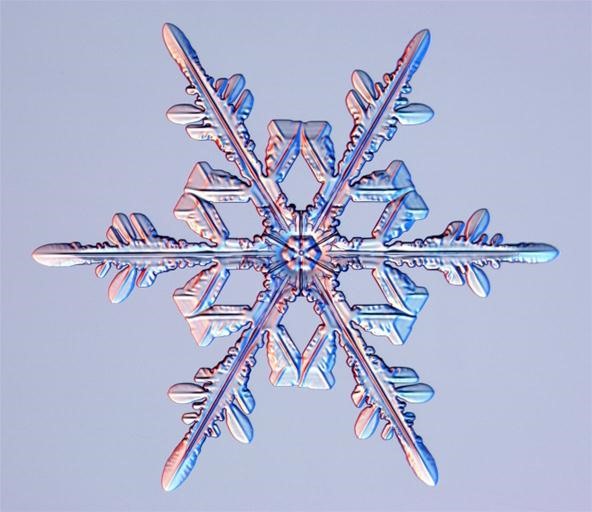
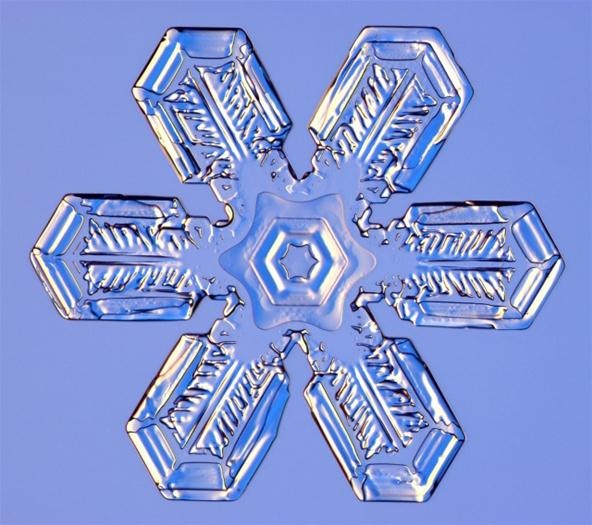
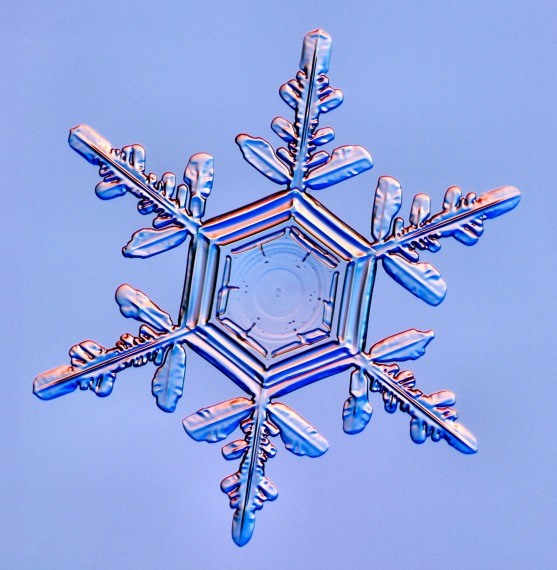
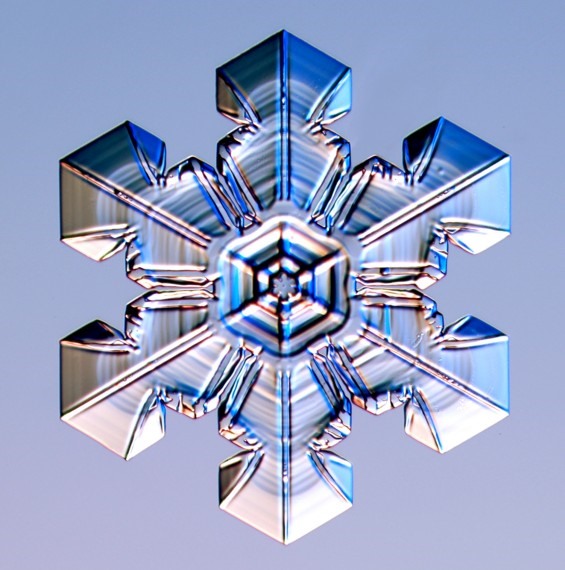
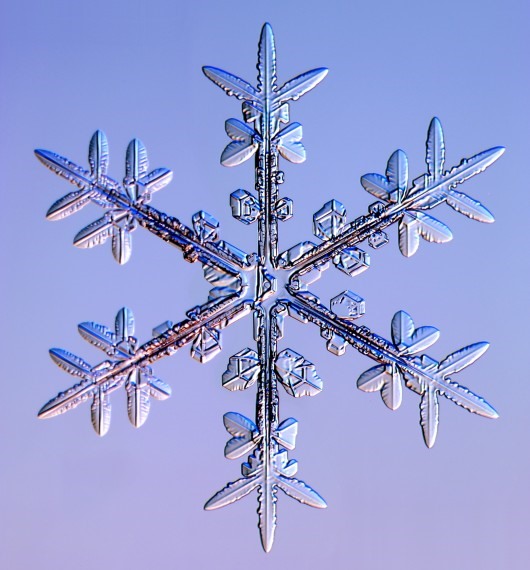
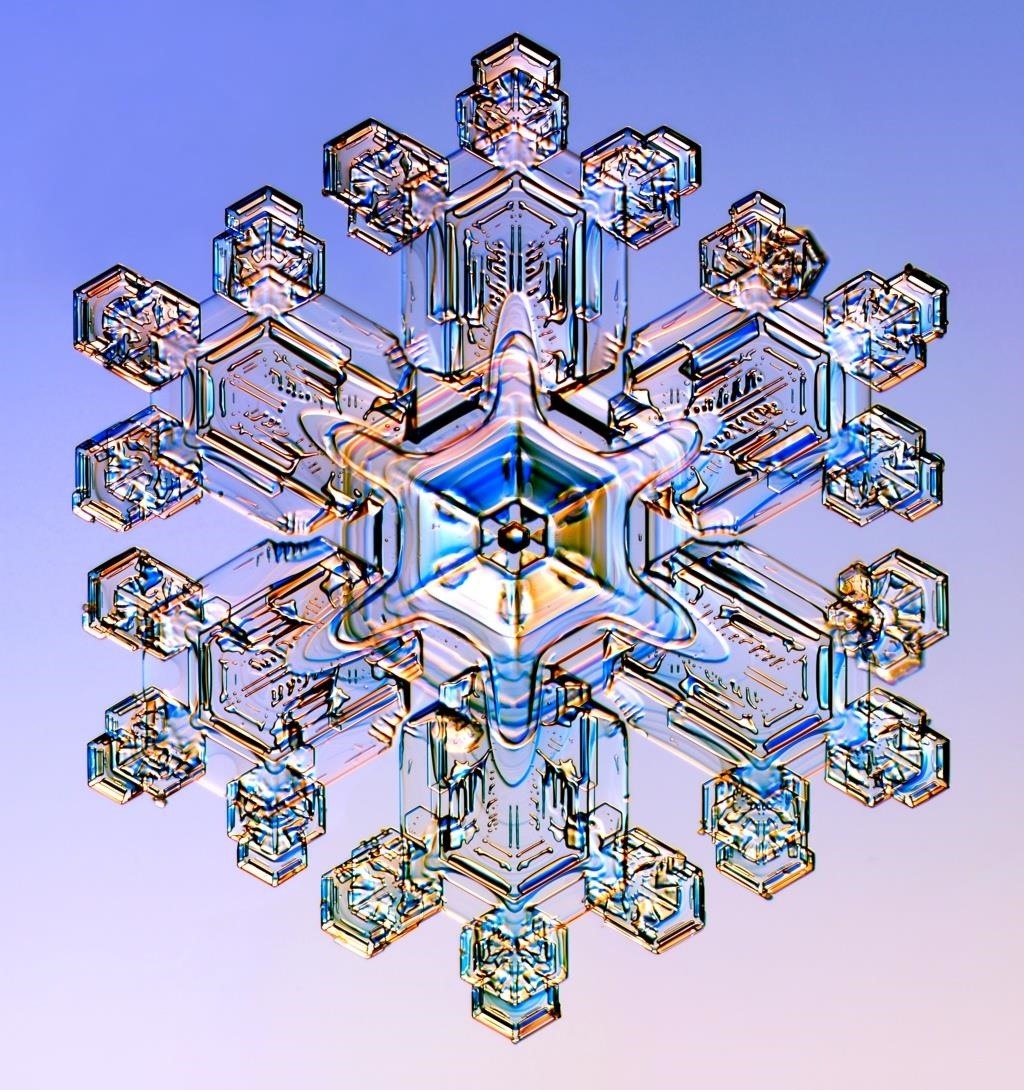
While both of the snowflakes above are pretty and symmetrical, my inner scientist isn't happy that they don't have the six-sided symmetry of a real snowflake. Since water crystals form in hexagonal layers, many snowflakes have a hexagonal symmetry. There are many lovely pictures of real snowflakes, as well as some interesting information at SnowCrystals.com, taken by Kenneth G. Libbrecht, a physics professor at Caltech. Here are just a few of them:

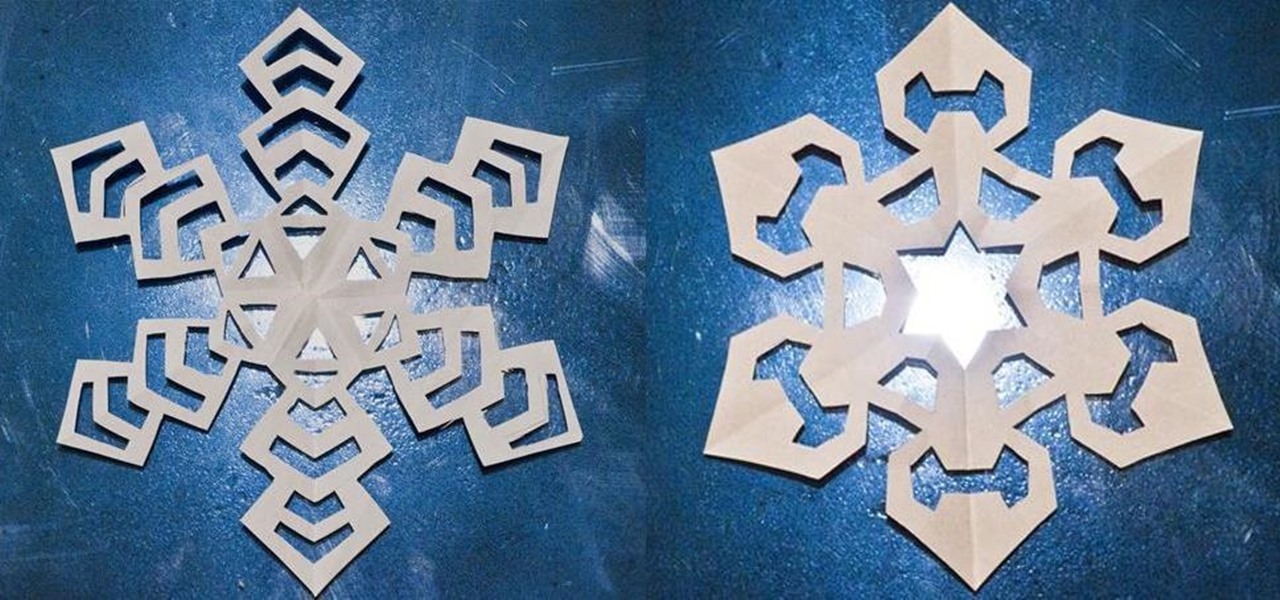
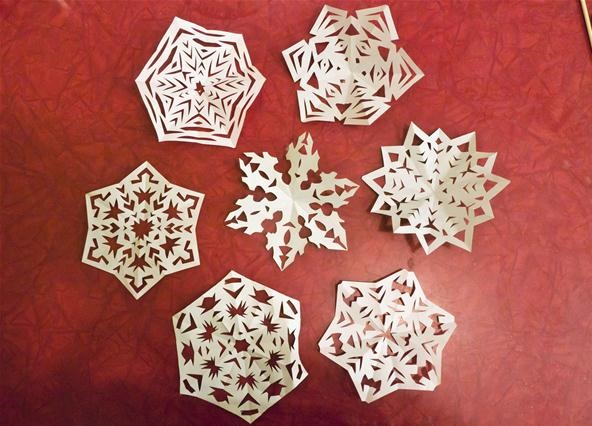
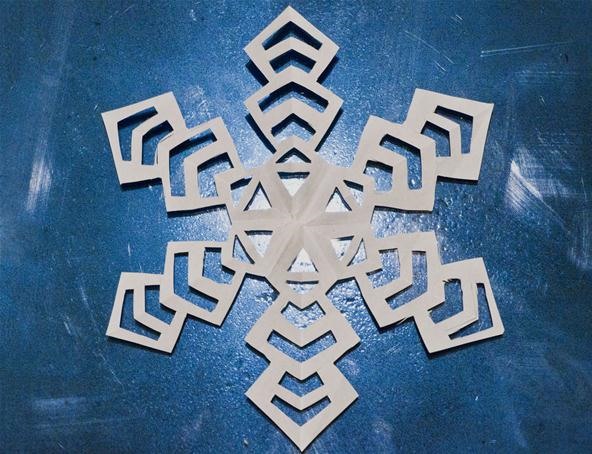
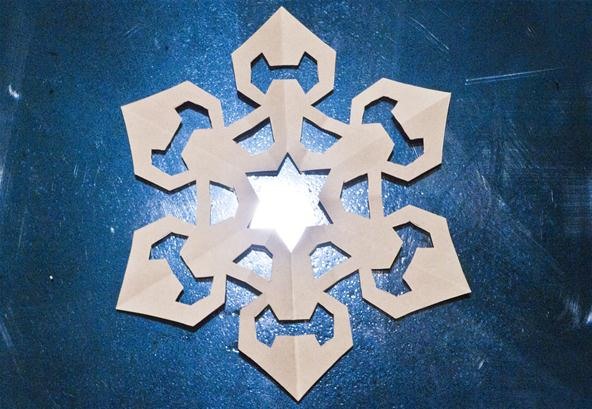
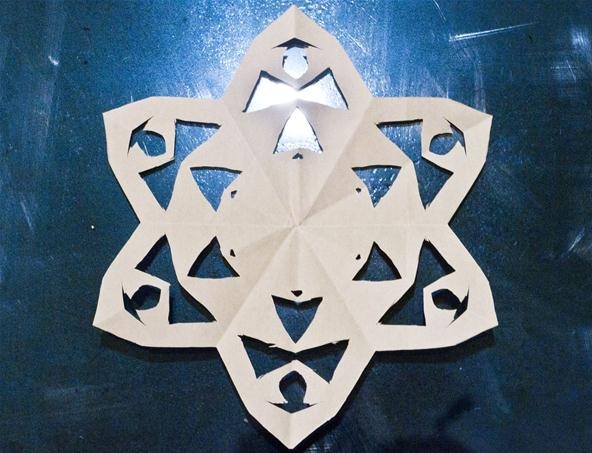
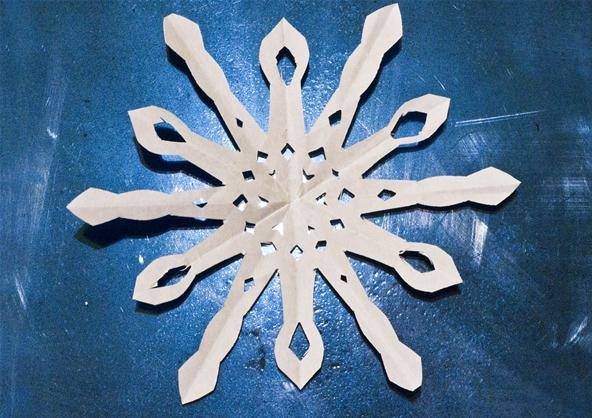
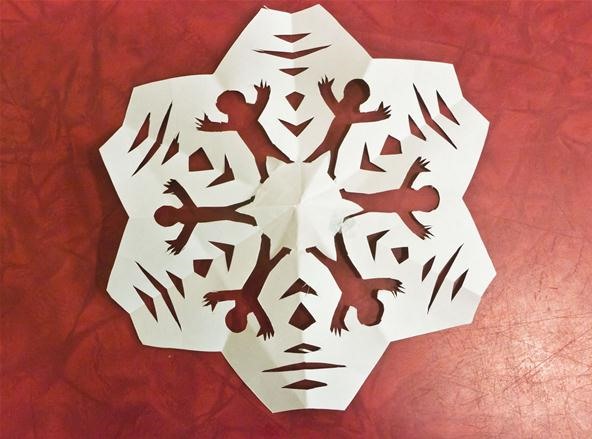
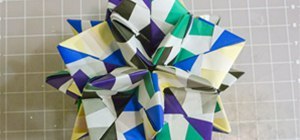
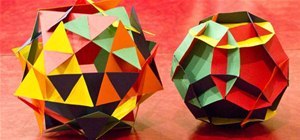
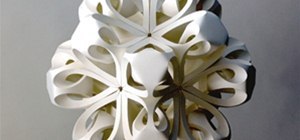
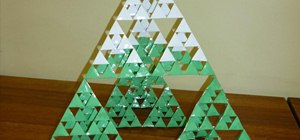
There are ways to fold paper to make six-sided Kirigami snowflakes as well. Here are pictures of a few snowflakes that my wife and I made last night.
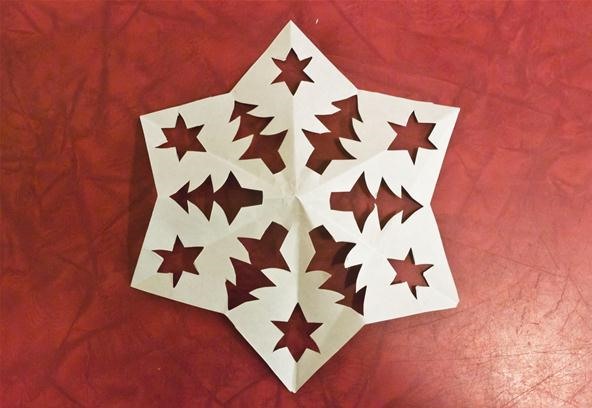
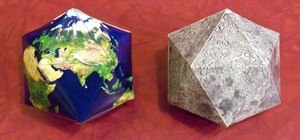
If you decide to get fancy you can even make recognizable designs as long as the designs have one line of symmetry.
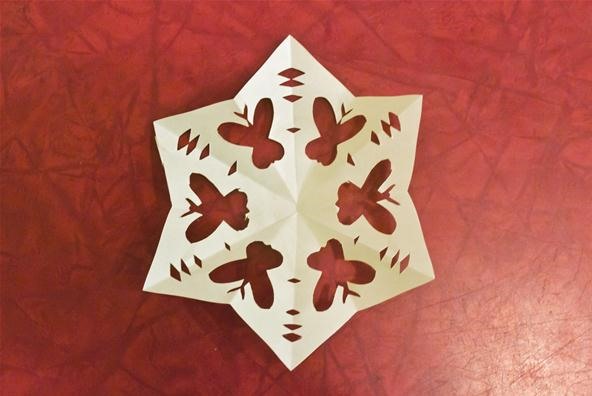
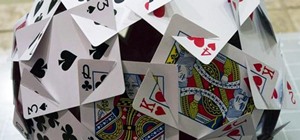
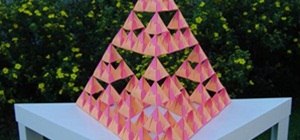
Update: Here's a few more showing various designs you can make.
My wife made these:
Tools & Materials
- square pieces of paper (origami paper or make your own squares)
- cutting device (scissors work, but an X-acto knife is so much better)
- folding instructions
How to Make Square Paper
All of the instructions below assume square paper is being used. If you need to make square paper, here is a fast way to do it.
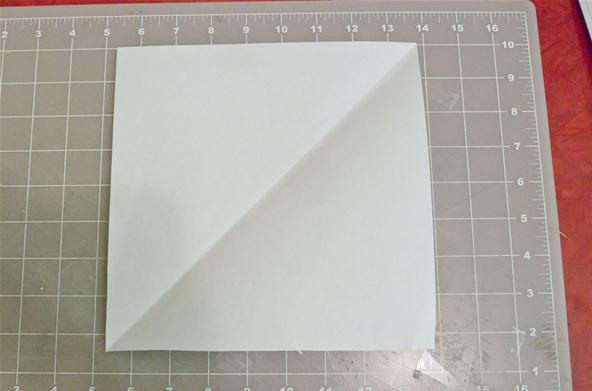
Take an ordinary piece of paper and fold it diagonally. Cut off the remaining strip.
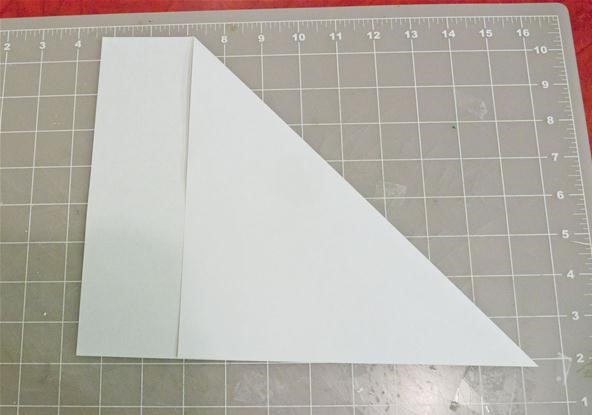
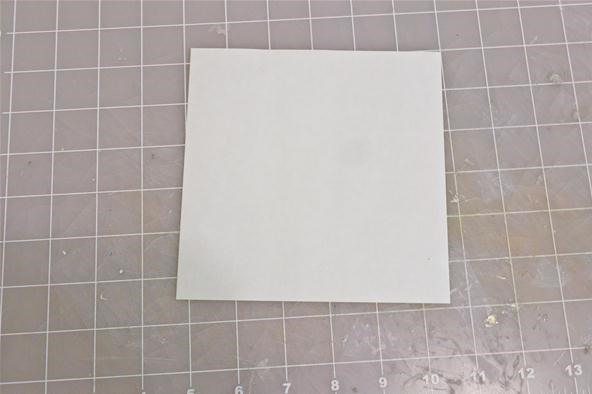
Unfold your square piece of paper.
The square created above is 8.5 inches on a side. If you want smaller paper, fold in half vertically, and then horizontally. This makes crease marks that I cut along to make four square sheets that are 4.25 inches on a side.
How to Make a Six-Sided Kirigami Snowflake
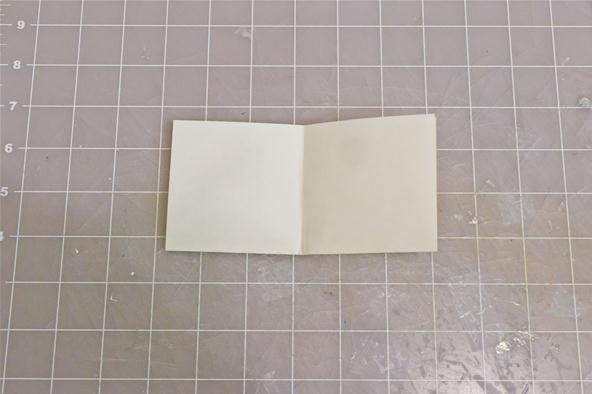
Read and followthese instructions. Start with a square piece of paper.
Fold in half.
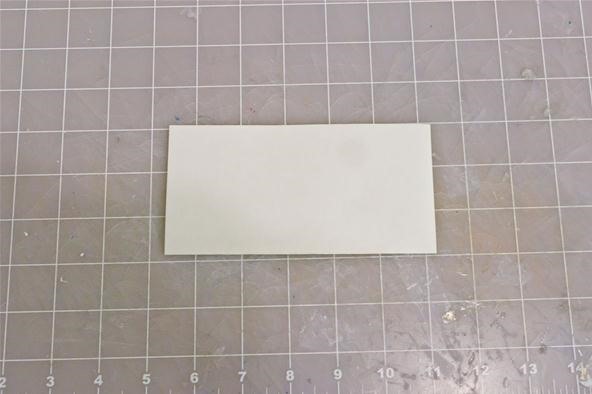
Fold in half the other direction.
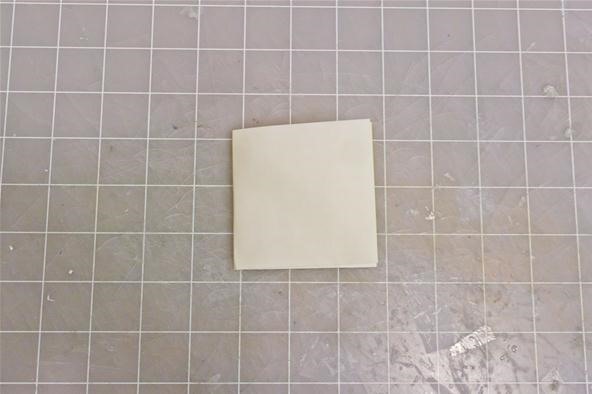
Unfold the last fold.
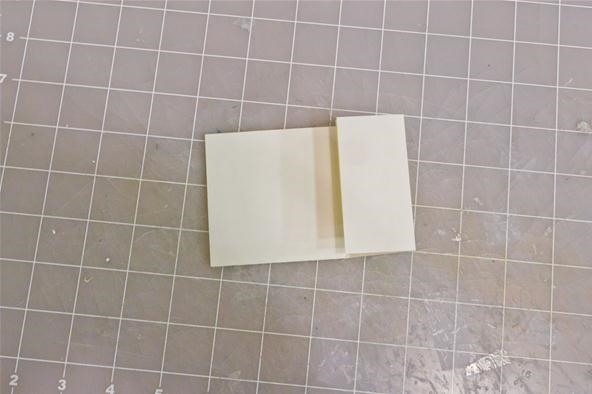
Fold one end to the crease in the middle.
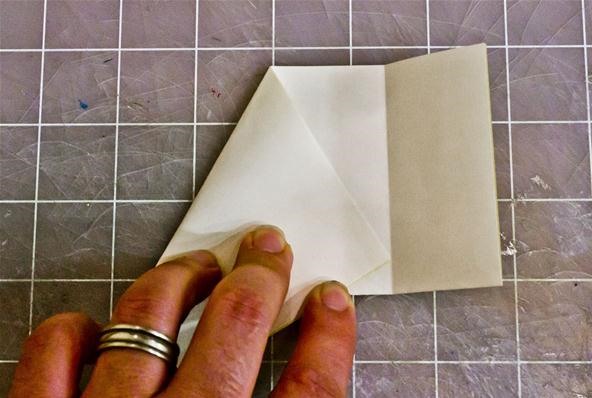
Unfold the last fold and then take a corner of the piece of paper and fold down so that you have a fold running from the center of the piece of paper to where the corner touches the last crease that was created. This will form a 30-60-90 right triangle because the longest side is twice as long as the shortest side. (If you remember some of your high school trigonometry)
Note: the corner you pick actually matters. It must be the corner that has a fold in the paper—not the corner where two edges come together. If you pick the wrong corner, you will end up with two half snowflakes and would have to tape them together at the end.
Now fold the other corner down to meet this side that was formed.
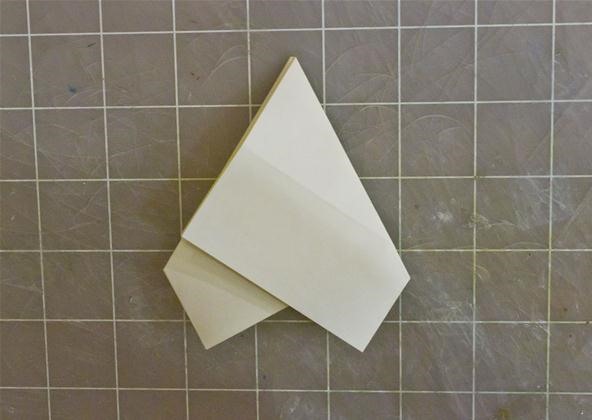
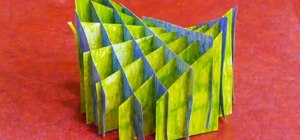
Fold in half down the middle.
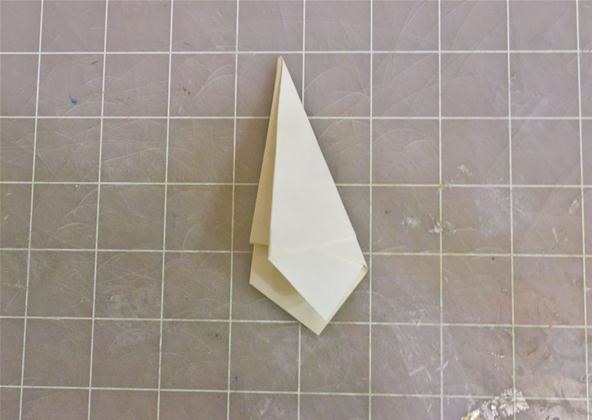
Cut off the end. The angle you choose decides the outside shape of the snowflake.

Cut out various parts from each side.
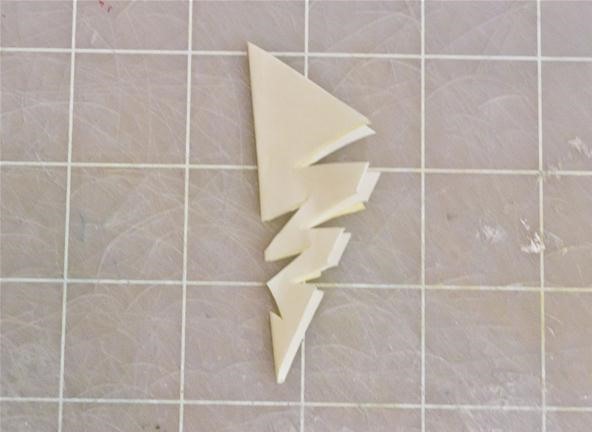
Unfold to see the snowflake that you have created.
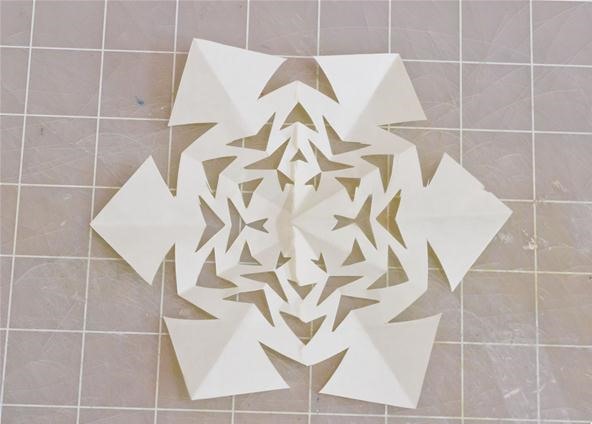
Experiment to see many different types of snowflakes.
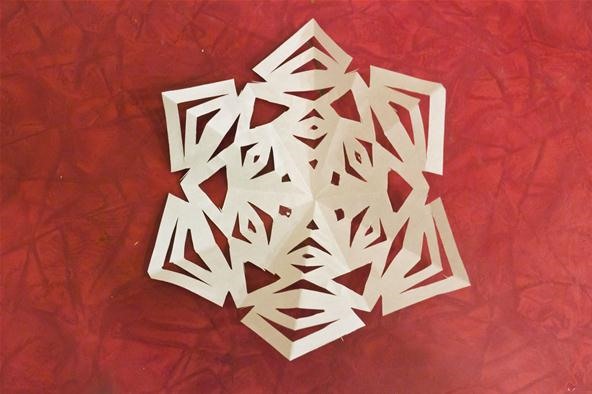
You can create any shape that has a line of symmetry.

Show Off Your Work
If you make any kirigami snowflakes or any of the other previous Math Craft projects, please share with us by posting to the forum. Perhaps you have some original project or something you've seen on the web that you'd like to share.
Just updated your iPhone? You'll find new emoji, enhanced security, podcast transcripts, Apple Cash virtual numbers, and other useful features. There are even new additions hidden within Safari. Find out what's new and changed on your iPhone with the iOS 17.4 update.

9 Comments
Very cool, I'll try this out tonight
Cool. Post up some of the results. We'd love to see them.
This is great! I guess I'll be making lots of these (if I can find some time) since we don't get snow in this part of the world and I sure miss the winters esp for the holidays. Thanks!
Awesome. Glad you liked it. We'd love to see the results. You can post up the results on the corkboard
Very cool Mr Poole. There is little in this world less tasteful than an anatomically incorrect snowflake. Its like drawing extra limbs on a stick figure.It can be done, but its just wrong. I had the kids make some of these as a school art project. Thanks again
Post up some pics on the corkboard. I'd love to see 'em!
Even easier is to take the original folded triangle, fold it in half along the hypoteneuse (sp?) to find its centerpoint, then use that as a reference to fold your cone. I stop there and start cutting. The small scissors on a Swiss Army knife are excellent for snowflakes. I decorate my cubicle (and much of our office) every year.
hey..its really interesting..:)
Really Cool.. I never thought of having patterns such as little men, butterflies and Christmas trees in my patterns. Brilliant!
Share Your Thoughts