
Curve stitching is a form of string art where smooth curves are created through the use of straight lines. It is taught in many Junior High and High School art classes. I discovered it when my math students started showing me the geometric art they had created.
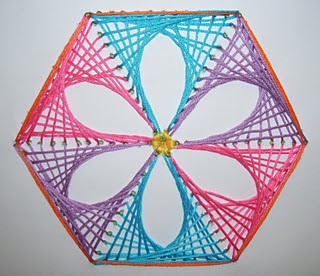
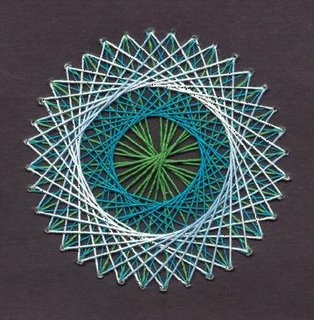
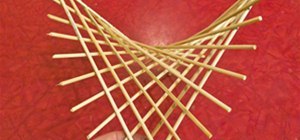
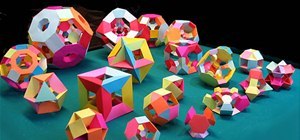
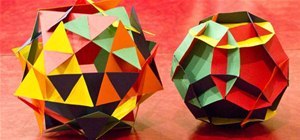
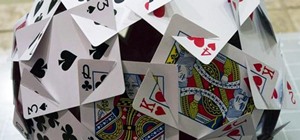
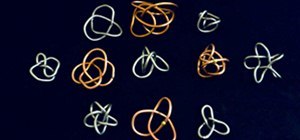
The process of curve stitching can be done with a piece of paper and a ruler, or anything you can make a straight line with. It is common to do these with strings as the lines. Below are a few examples of string art.
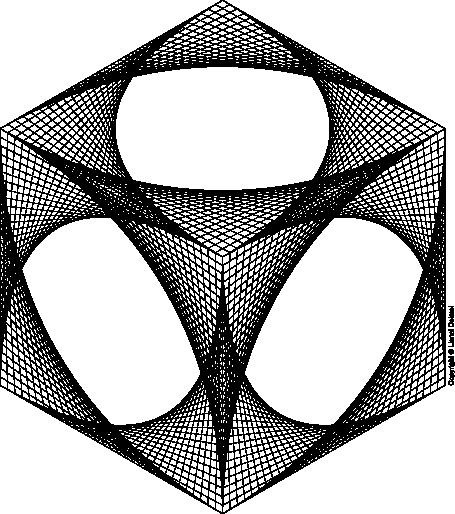
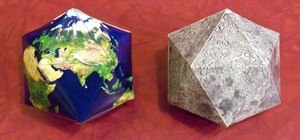
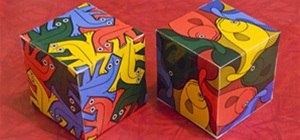
Here's an interesting one of an Isometric Cube by Lionel Deimel (who has more awesome designs on his curve stitching page).
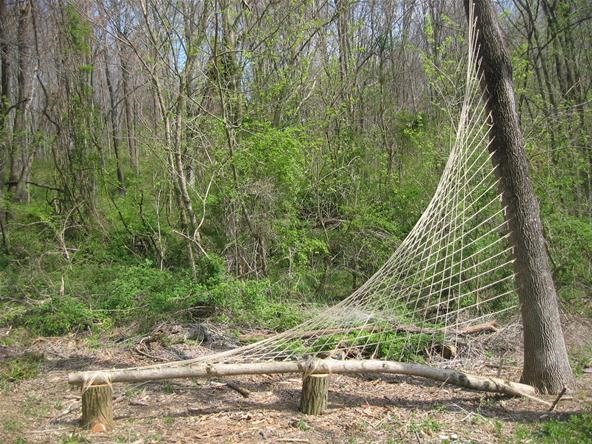
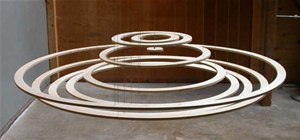
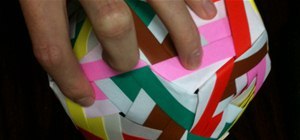
Here's one by Eli Hess using ropes and trees. The curve formed is a parabola.
One of the easiest curves to create using curve stitching is a parabola. The straight lines do not actually create the curve, they merely approximate it. The parabola is the envelope of the straight lines. This mathematical paper proves that the curve formed by the method below is a parabola. Once a parabolic section has been created, you can use it to form interesting designs. Four of the designs above only use parabolic sections.
Materials and Tools
- Paper
- Ruler
- Pencil or Pen
Create a Parabola from Lines and a Right Angle
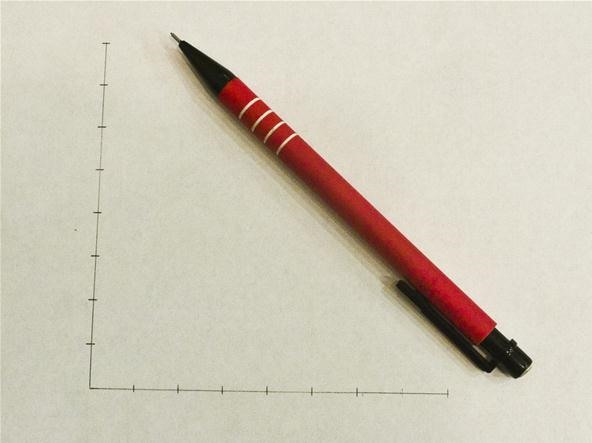
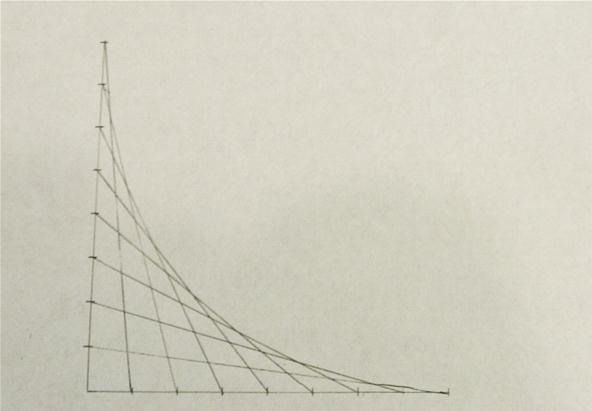
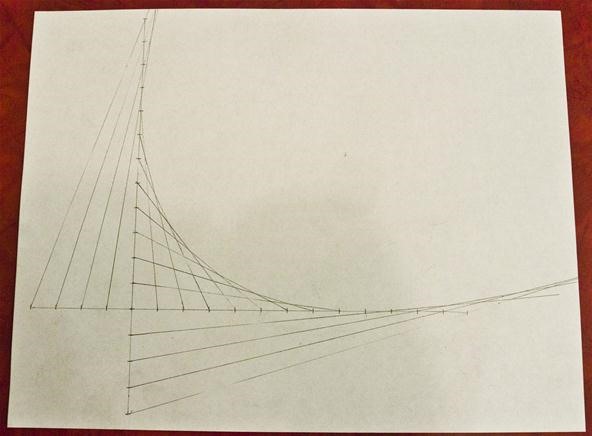
Draw a right angle and mark two lines of equal length at equal intervals. It should look like you are making a coordinate plane to graph an equation.
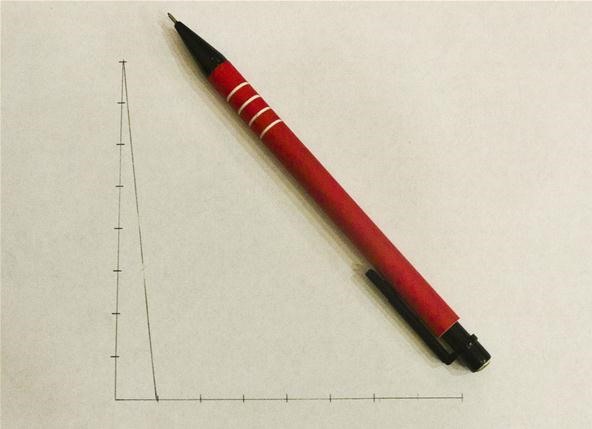
Draw a line from the farthest mark from the right angle on one line, to the closest mark to the right angle on the other line.
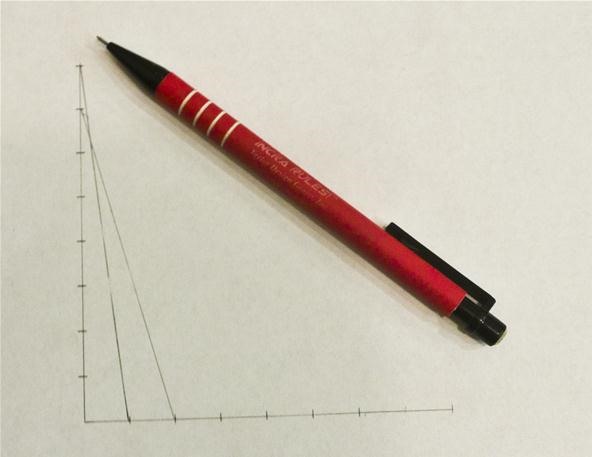
Now connect the 2nd farthest mark to the 2nd closest mark.
Continue connecting lines between the points as you step down one line and step up the other.
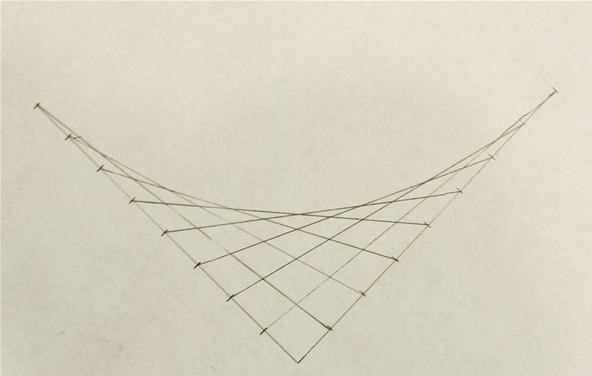
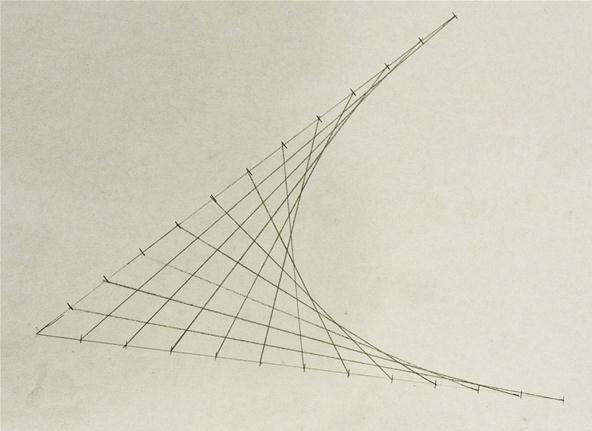
Here I've rotated the image 45 degrees so the parabola is oriented in the conventional way.
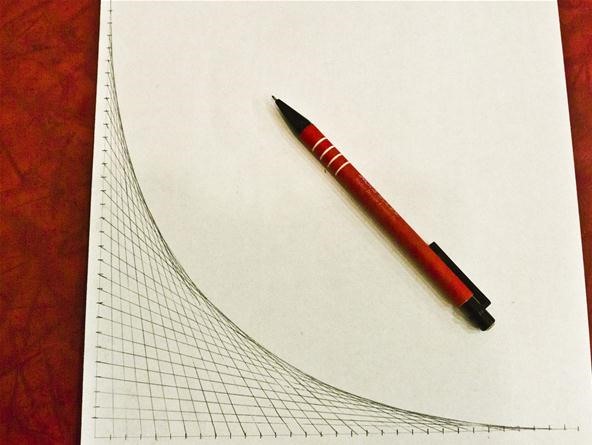
The curve was pretty smooth looking with eight marks on each line, but can be made smoother by adding more marks. There are 32 in this picture.
If you want the parabola to continue, you can extend the lines both beyond the right angle.
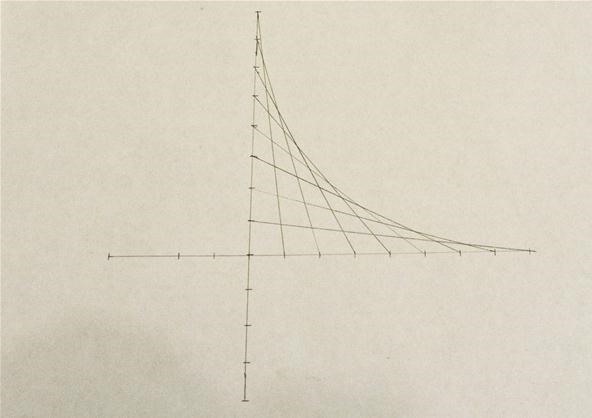
If you want the parabola to continue getting steeper, you can extend the marks past the right angle and connect them up as shown below. Remember to count the right angle as a mark.
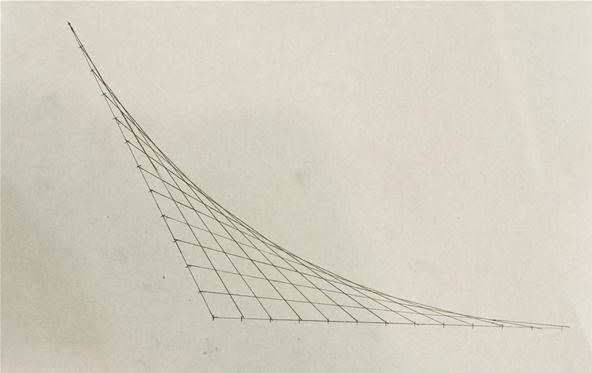
Making Narrower or Wider Parabolas by Using Non-Right Angles
If you want a narrower parabola, you can follow the process above, but use an angle less than 90 degrees. The angle below is 45 degrees.
If you want a wider parabola, you can follow the process above, but use an angle greater than 90 degrees. The angle below is 120 degrees.
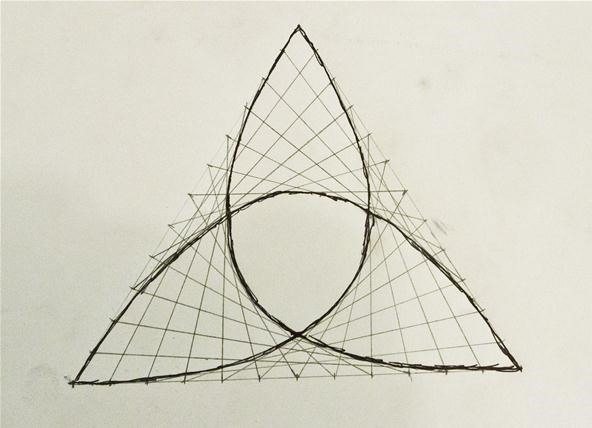
Creating Parabolic Sections Inside Polygons
Since the process of creating parabolic sections can be done with any angle, you can use angles that make polygons and use the process on all of the sides. Using the process on regular polygons where all of the angles and sides are the same results in pleasing figures. I constructed a regular triangle below, but the process would work for any regular polygon. You could just find an image of a regular polygon using google image search and use that.
Connect the sides of your regular polygon using lines as in the process above.

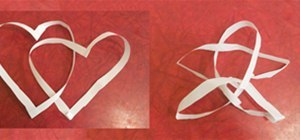
After all three sides have been connected.

The path that has been created by the straight lines actually follows the outline of a trefoil knot which was explored in a previous post on torus knots.
Creating Star Figures from Parabolic Sections
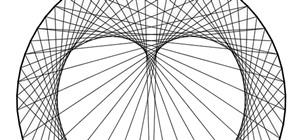
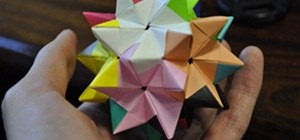
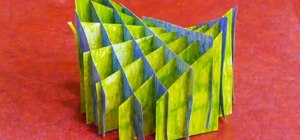
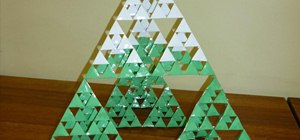
If you use the lines that connect up the center of a regular polygon to each of the sides, you get star figures made out of your parabolas. The image below used a pentagon, which has 5 central angles of 72 degrees.
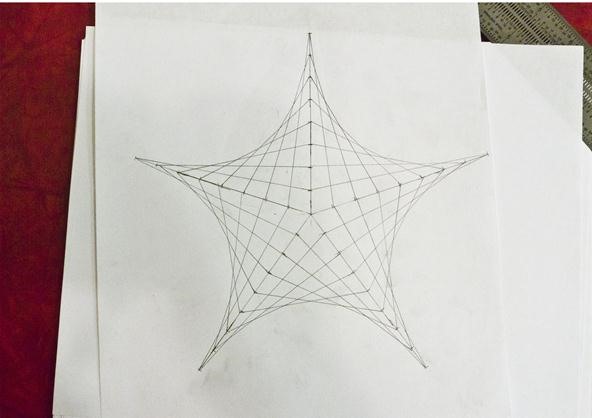
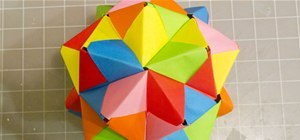
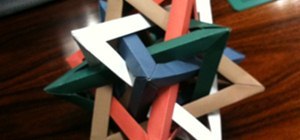
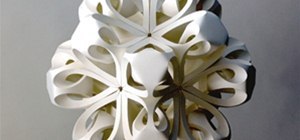
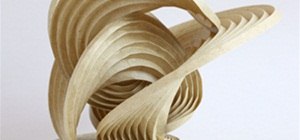
This reminds me of a three dimensional version I made out of pencils. Perhaps we'll explore how to do something similar to this process in 3d in a later post.

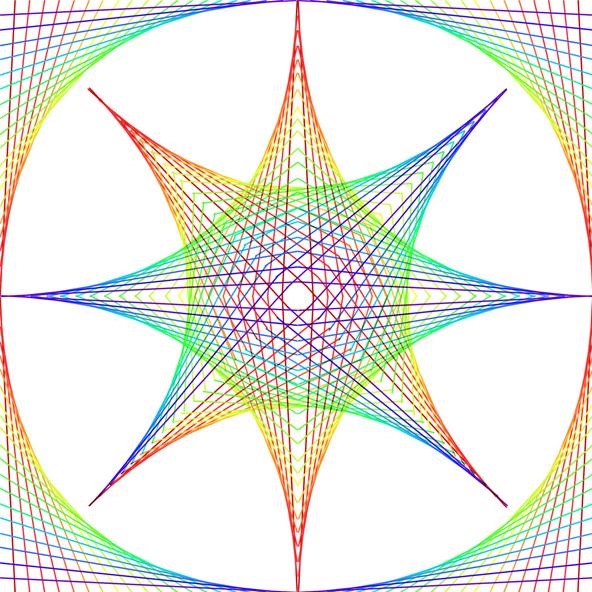
Combine Parabolic Sections to Make a Work of Art.
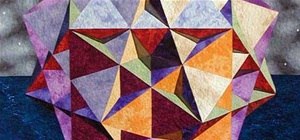
There are an infinite number of ways to combine these parabolic sections to create interesting figures. I am not a very good artist, but here are a few pieces I have made, plus some ideas for creating your own.
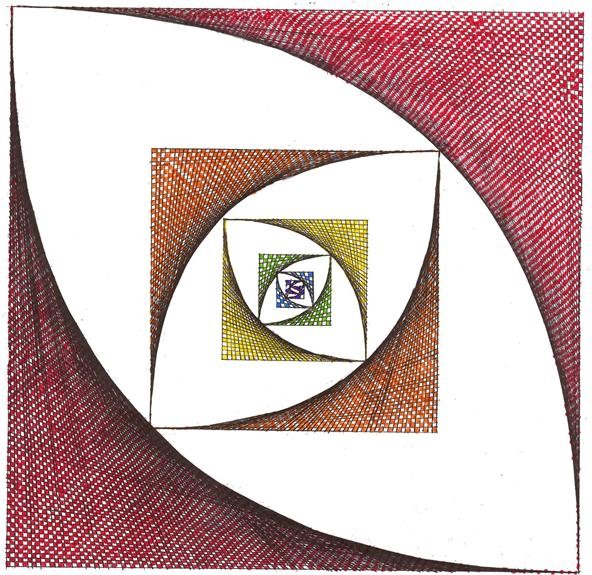
Embedding parabolic curves of smaller sizes can make an interesting self-similar fractal pattern.
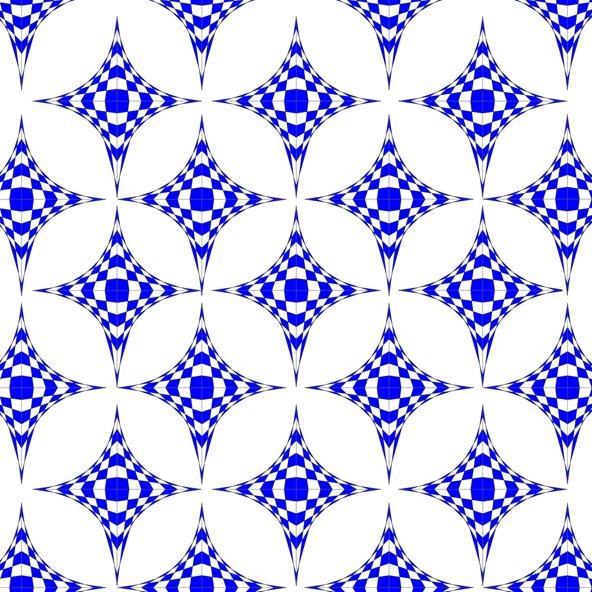
Combing the polygons or star figures into tilings regular tilings of the plane. This one uses star figures based off of the square. Note: It is much easier to use a computer to do this.
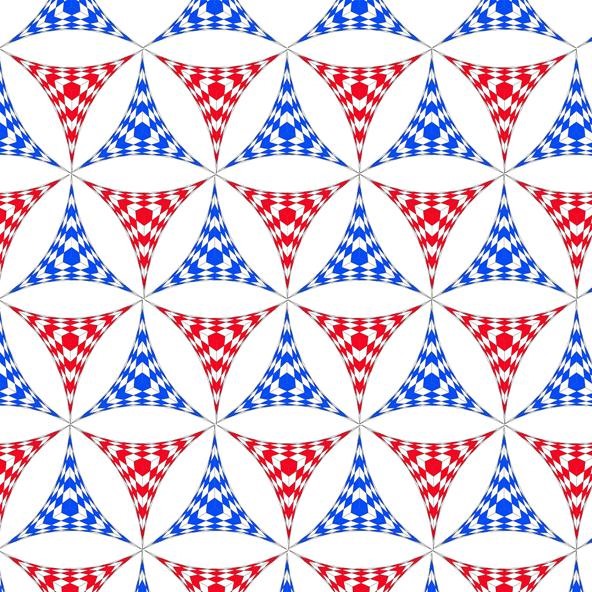
Here's one using triangles to tile the plane. Note the strong connections between triangles, circles, and hexagons that you can see in the image below.
There are tilings that use multiple polygons to tile the plane. Here's a semi-regular tiling that uses triangles, squares, and hexagons. I created a version of each figure by hand, and then copied them using Photoshop.

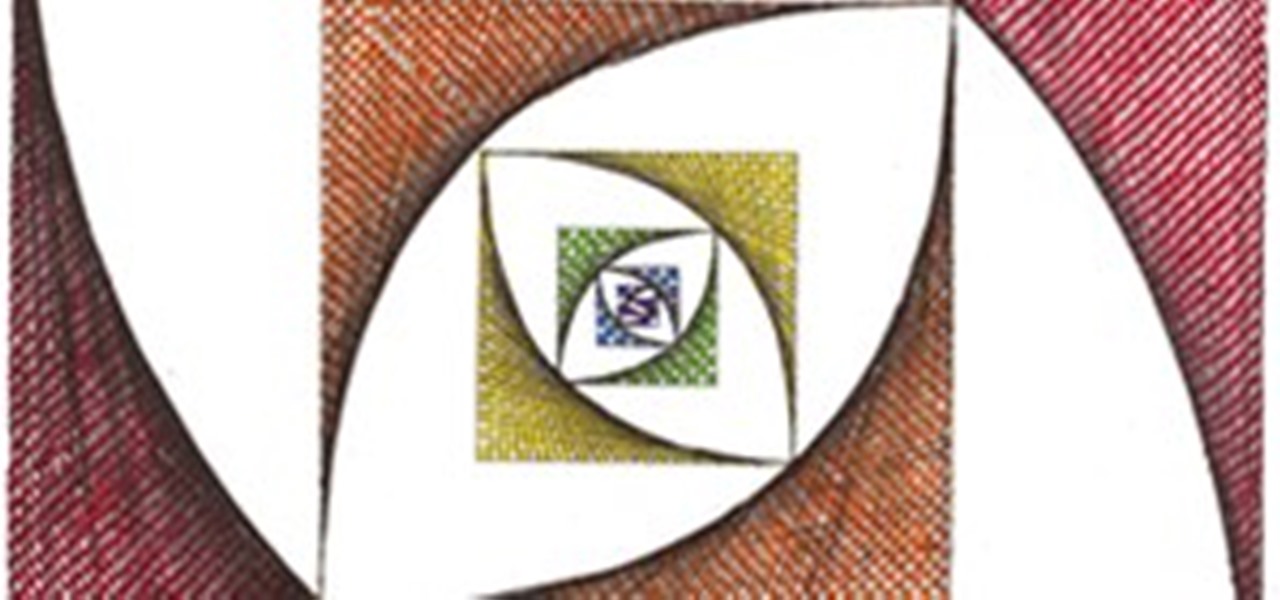
You can use lines of different colors to create your parabolic sections.

You can copy and overlay these sections using a program like Photoshop. There's an infinite number of eye-pleasing combinations.
Show Off Your Parabolic Artwork
If you make any of these designs or any of your own, let us know by posting a picture or video up on the corkboard. We'd love to see them. Can anyone make them using other materials?
On Thursday, we'll look at creating some curves from straight lines using a circle as the starting point. We'll be able to create concentric circles, ellipses, and cardioids, among others.
Just updated your iPhone? You'll find new emoji, enhanced security, podcast transcripts, Apple Cash virtual numbers, and other useful features. There are even new additions hidden within Safari. Find out what's new and changed on your iPhone with the iOS 17.4 update.
22 Comments
This is awesome Cory! It looks 3D
They're actually easy and quite a bit of fun to make. It's interesting that you say they look like they're 3d, because I guess we're actually used to seeing images from 3d video games etc. that look a little bit like this.
yea you're right
Other way around, we actually see in 2d and use the contrast between the images seen by each eye to evaluate depth. That's called stereopsis Like this:
So, 3d drawing manipulates that by moving stuff away on 2 axes in a way that mimics how we would see it if it was actually farther away on the third.
I made a really complex one- I'll post it to the corkboard.
Awesome! I'm looking forward to seeing it.
Well its only complex because I forgot how to do it and I did a lot more work than I had to :)
Hah! Story of my life. But you learn a lot doing it the hard way. (figuring it out as you go)
Trial and error learning... My life is based off of it too
It's posted here!
OMG!!!!!!!!!!!HOW DID YOU DRAW THOSE! Im doing a math extra credit project...and im having a hard time trying to figure out the patterns.....i leik the rainbow one and the circle shaped one... :)
I've been making these (in Photoshop) for years! Check some of them out: http://aquietdesperation.deviantart.com/gallery/
Re: Creating Star Figures,
Sure looks like a Bat Star!
I 'draw' mine with needle and thread and make them into greeting cards.
Cool site.
One thing, though-- these are not parabolas. These are portions of a "Astroid"-- the straight lines form the "envelope" of the curve created by the hypocycloid where an inner circle is 1/4th the diameter of a larger outer circle.
This link about the astroid is really cool and explains how the straight-line graph you describe is a glissette, and can be achieved by sliding a straight line, such as a ladder, down a wall.
This is my desktop background on my 27" iMac. I left a blank area at the top to compensate for the menu bar.
I've been doing this for over 40 years and it still fascinates me.
Then I thought about Illustrator Patterns. Here's one of many.
I started when I was around 13 for a short time and found I had a lot of time on my hands when I was in the USAF at 19. It all started so simple and got more complex over the years. Here's a couple from that era. This is embroidery thread sewn into poster board and the ends taped to the back (1 & 2). It wasn't until around 1997 that I started using Adobe Illustrator which was a lot more time consuming because of all the variables (i.e., colors to choose from Pantone, line weight, and of course calculating). Number 3 is one of the first freestyle like #2 except I used a gradient fill of Pantone fluorescents to silver.
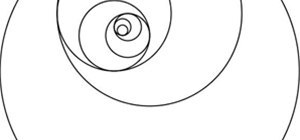
I really need your help! I am starting a project in String Art and I have many doubts about these geometric segments. I find some simple and easy to understand but I'm having trouble understanding this one. Does anyone want to be my teacher ???
check out the tutorial of this shape at inspiringboard.com/string_arts/spiral_moons.
This site puts lots of new stuff daily. As of now it has limited articles. They put new patterns every week.
I love this! Making these are one of my favorite past times when I've got paper and pencil with nothing to do. This website is great!
I don't believe the basic shapes with two axis and intersecting lines are parabolic. They may be parabolic in nature on a limited range. However, since the axes, or initial lines, are tangential and create a limit, I would think the shapes as a whole are elliptical in nature. If you expand a y=x^2 parabola it would continue to go "out" and "up" with no limit. I think it would be difficult to argue that the basic curves described here are not limited by the axes. Aside from that, excellent job with the web page.
Share Your Thoughts